How To Browse Your Data On DroneMaps
In today's data-driven world, organizing and accessing your information is crucial.
In this article, we'll provide you with step-by-step instructions, valuable tips, and best practices to enhance the handling of your data.
Navigating Your Data
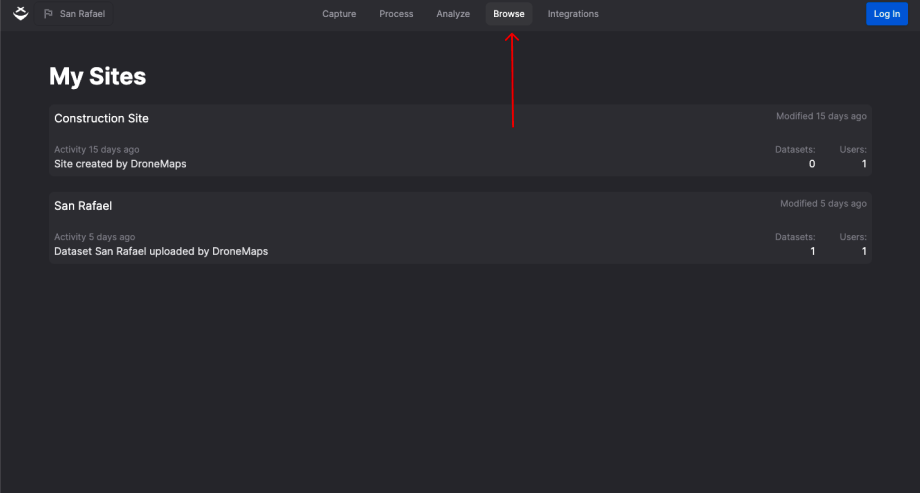
Step 1: Accessing the Browse Screen
- To begin, click the "Browse" tab located at the top of your screen.
- After clicking "Browse," you will seamlessly be directed to the Browse Screen.
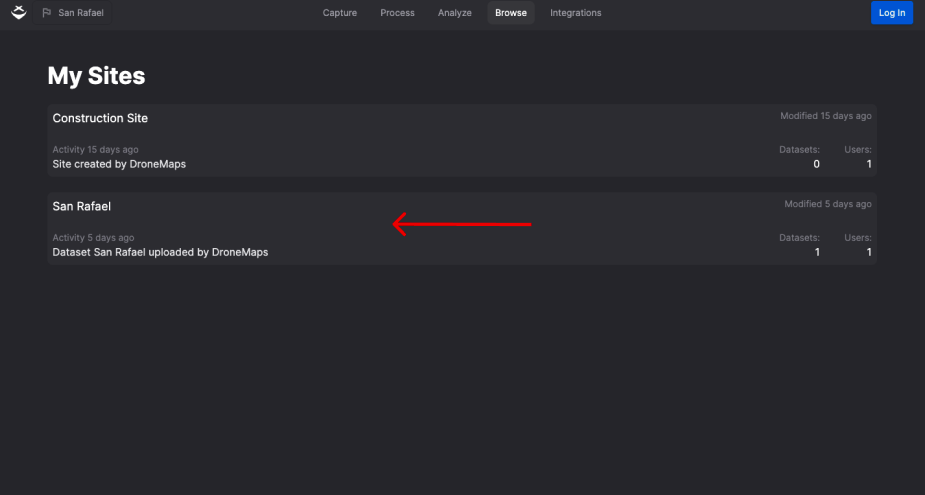
Step 2: Exploring Your Sites
- On the Browse Screen, you will see a list of your sites, each representing a unique location or project.
- To add a new site, simply click "Add Site" located to the right of the screen.
- Navigate through your list of sites and choose the one housing the dataset you wish to explore. Simply click your desired site.
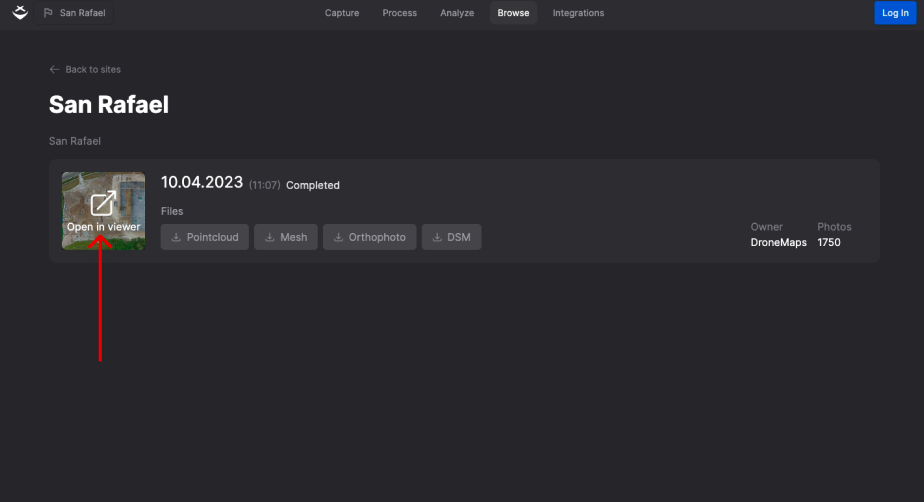
Step 3: Exploring and Exporting Your Dataset
- Upon selecting a site, you will gain access to your uploaded and processed datasets. In addition to viewing your existing datasets, you can also observe datasets currently being processed.
- When you are ready to export a specific dataset that has completed processing, simply click on the dataset.
- A range of export options are available, including Point Cloud, Orthophoto, Raw Data, and 3D Mesh.
- Click your desired output type, and you're done! Your dataset will be exported precisely as you requested it.

Step 4: Analyzing Your Dataset
- For further analysis of your dataset, click on "Open in viewer."
- The viewer allows you to explore your dataset using different layers and analytics, enhancing your visualization capabilities.
- Learn more about visualizing your geospatial dataset effectively.
Tips and Best Practices
Data Organization
Maintain a well-structured naming convention for your sites and datasets. A clear naming scheme will help you quickly identify and access the data you need.
For example, if your dataset contains images of a construction site, consider naming it "ConstructionSite_Map_June2023" instead of using a generic or random file name.
Resource Management
We understand that your data needs can grow over time. If you find yourself frequently reaching resource limits, it might be time to explore our upgraded plans. These plans offer expanded data processing capabilities, allowing you to handle larger datasets and more complex tasks.
Don't hesitate to reach out to our support team or explore the different plans Dronemaps provides.
Export Considerations
Different projects may require different output formats and resolutions. Here's a brief explanation of each:
- Point Cloud: Point cloud data (.las, .pnt, .ply, .pcd, .S3MB) represents spatial information as a collection of points, enabling precise measurements and modeling.
- Orthophoto: If you need high-resolution aerial images stitched together into a single georeferenced image, choose orthophoto outputs (.tif, .jpg).
- Raw Data: Sometimes, you might require the original, unprocessed data files for further analysis or archival purposes. Ensure you select the "Raw Data" option for this.
- 3D Mesh: Select 3D mesh output for 3D modeling and visualization, creating detailed, textured 3D representations of your area of interest.
What’s Next?
Now that you've organized your data and explored your datasets, it's time to dive deeper. To explore your processed dataset further, we recommend visualizing it on our platform. Here is what you can do:
Visualize in layers
Explore your dataset with different layers, each offering a unique perspective:
- 3D Mesh: Visualize your data in stunning 3D detail.
- Point Cloud: Dive into the precision of point cloud views.
- Orthophoto: view with high-resolution orthophotos.
- Base Map: Overlay your data on various base maps for added context.
Explore these features and learn how to visualize your geospatial outputs on DroneMaps.
Need more help? contact us for support